Working with Images
This section explains how to work with images in Open Data Editor.
Opening an Image
To open the image file, simply click on the image file in the File Explorer on the left pane.
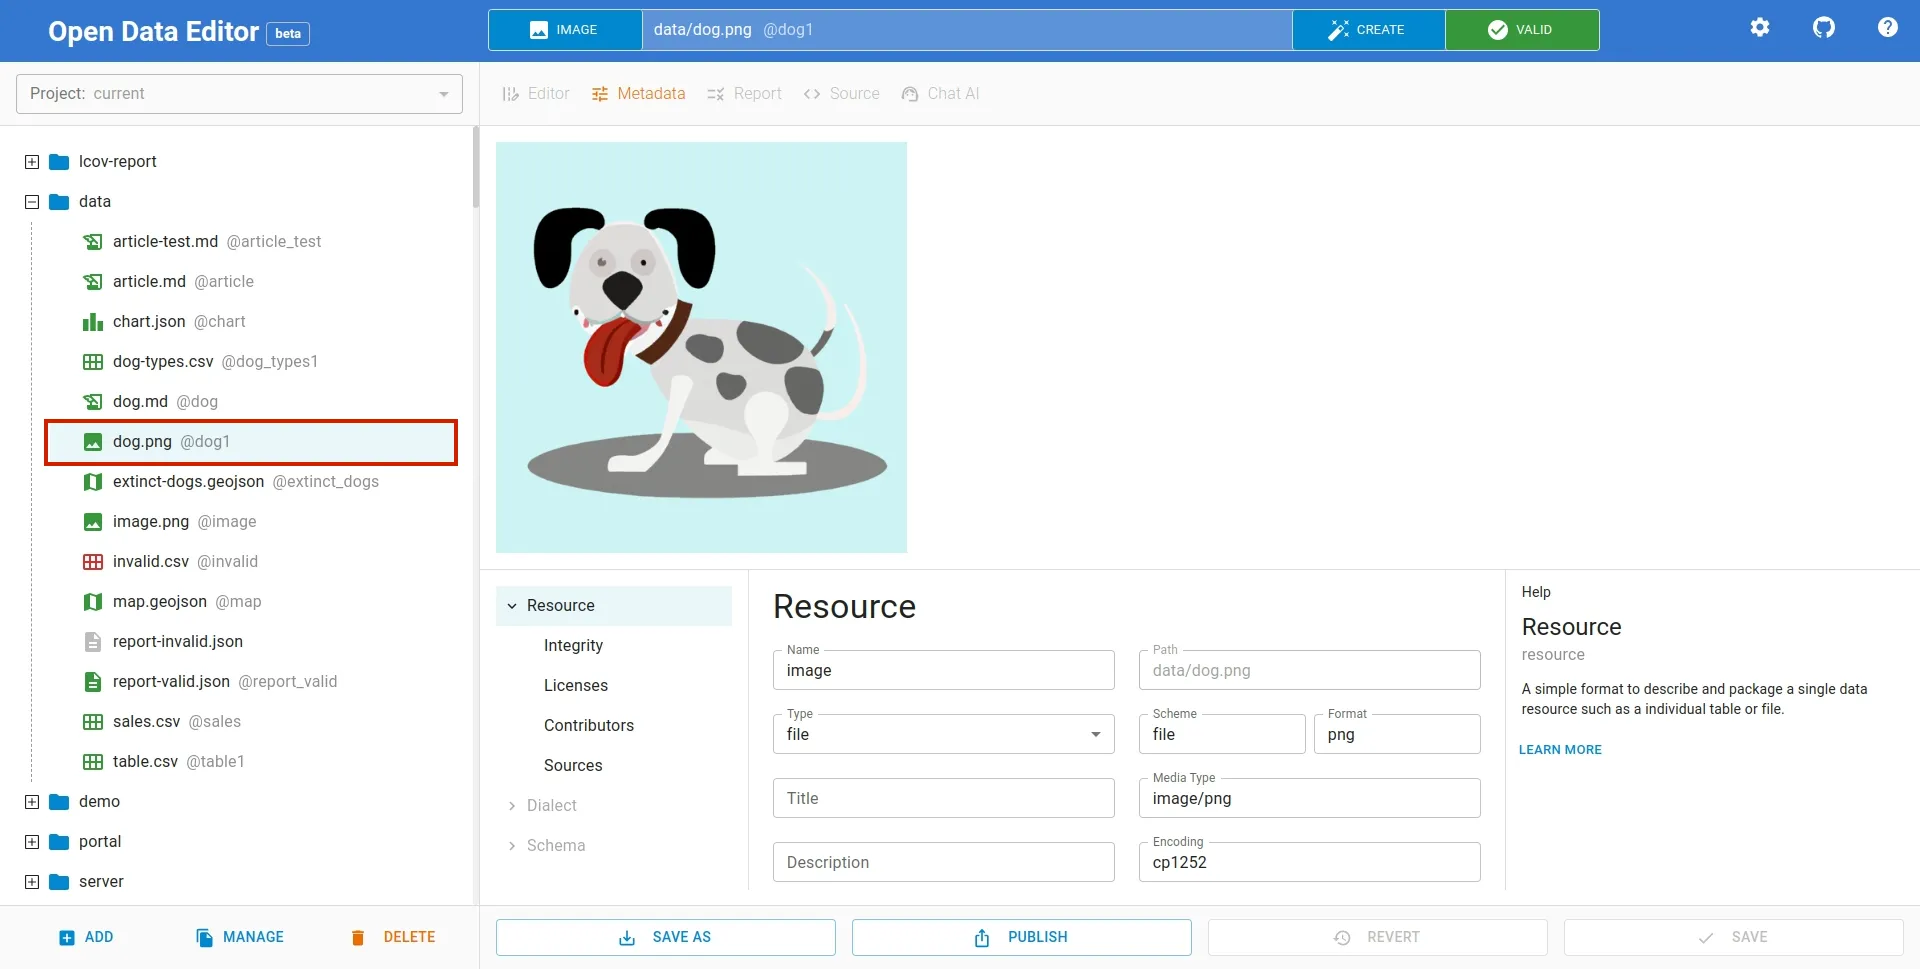
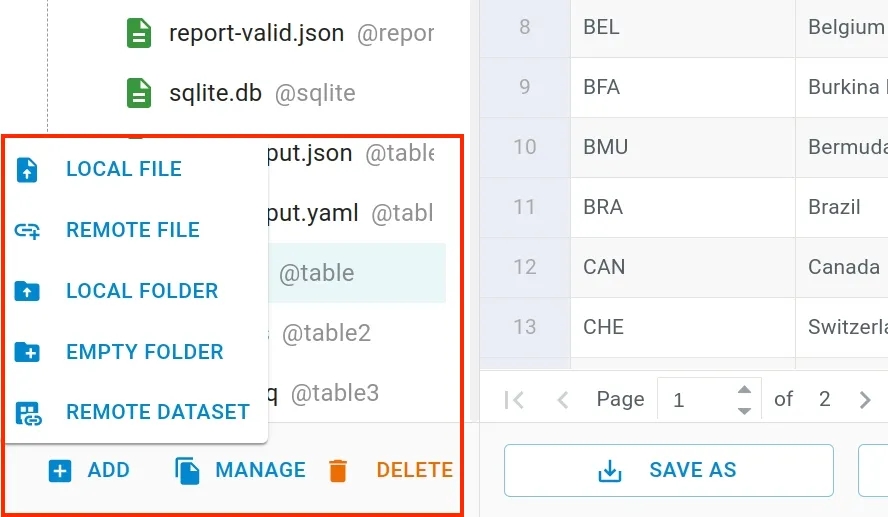
If you haven’t already added the image file to the editor, click ADD button at the bottom left of the editor as shown below. It will open a file dialog to select the file to upload.
Adding Metadata
You can add the metadata to the image file by clicking Metadatata menu in the toolbar. To hide metadata editor, just click the menu again.

The metadata editor has three sections: Menu, Input form and Help. Using menu explorer you can navigate to different input pages and make changes to the metadata.

Revert / Save
When modifications are made to the file, the Revert and Save buttons gets activated. You can save the changes using Save button. If you want to revert the changes, just click Revert button.

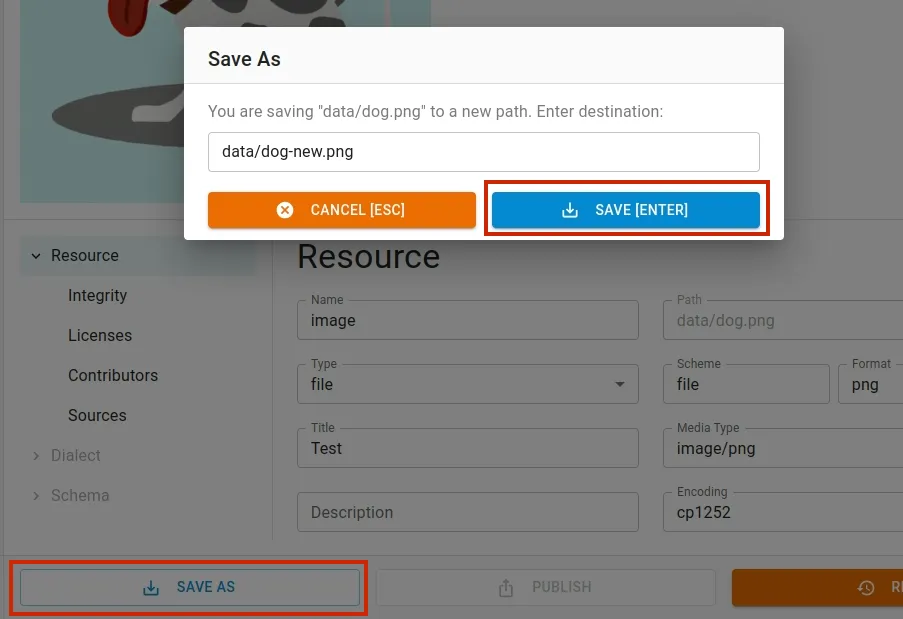
To save the changes as a new file, click Save As button and input a new name for the file.
Using AI with Images
You can also generate an image using AI prompts by giving commands. To use AI feature, click Create button, and navigate to Image tab.
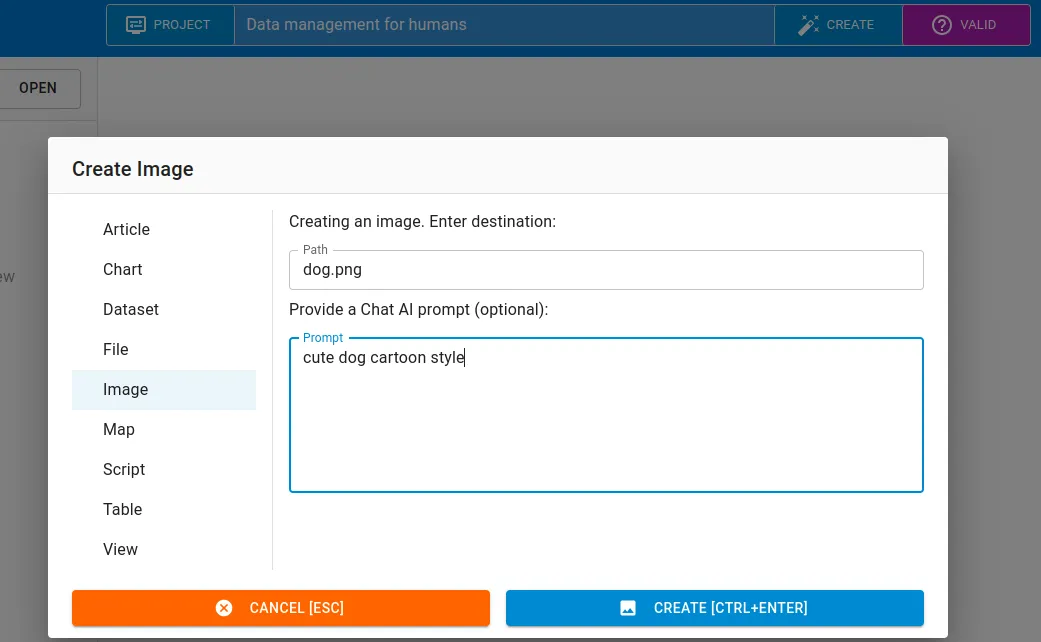
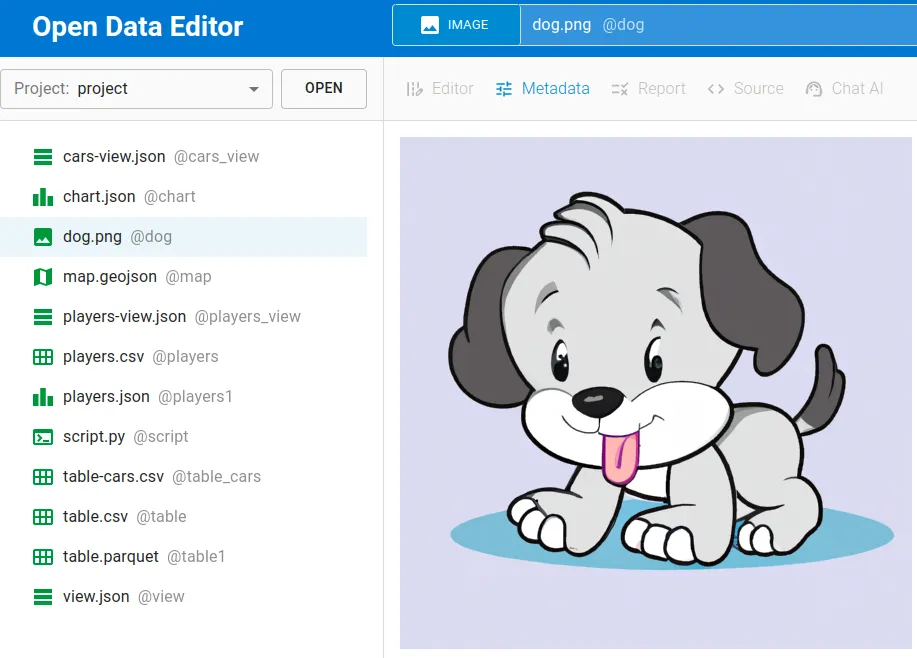
Enter a promt you like and click “Create” button:
Publishing
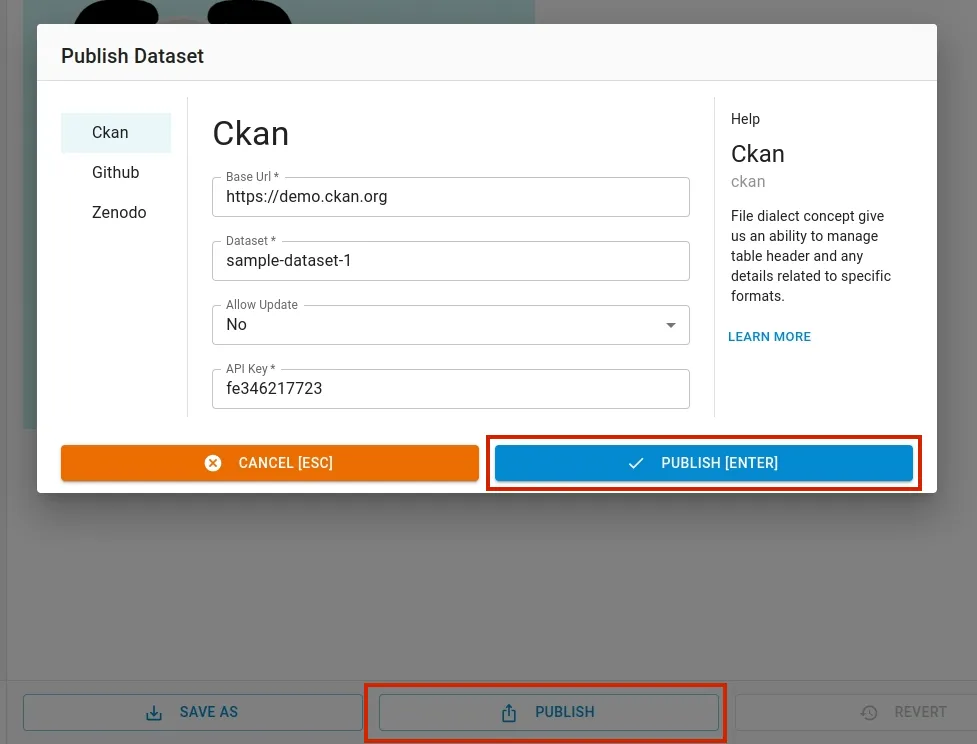
You can publish a file using Publish feature. To be able to publish, you have to set the required credentials to connect to data portal (CKAN, Zenodo, Github).
